In today’s blog post we are going to teach you how to create a simple WordPress plugin that you can use to create a custom WordPress Dashboard Admin Theme.
While the overall default admin theme is slick, there might be a few items that you would like to adjust, or maybe ever just have it match the branding of your companies website!
Creating The Plugin
To make these adjustments, we’re going to follow the official guide that is already available in the WordPress Codex on how to create an Admin Theme.
To start off, you need login to your FTP and go to your Plugins folder under WP Content. Now create a new folding for your plugin and name it “simple-admin-theme” or whatever name you would like to choose. Once your new folder is created simply click and go into the new folder. Now you will need to create a new file called “simple-admin-theme.php“. In this file, you’ll want to paste the following code snippet we have provided you:
					<?php

/*
Plugin Name: Simple Admin Theme
Plugin URI: https://wpcodeus.com/
Description: A Simple Admin Theme for WordPress
Author: WP Codeus
Version: 1.0.0
Author URI: https://wpcodeus.com/
*/

function sat_enqueue_custom_admin_theme() {
    wp_enqueue_style( 'sat-enqueue-custom-admin-theme', plugins_url( 'wp-admin.css', __FILE__ ) );
}
add_action( 'admin_enqueue_scripts', 'sat_enqueue_custom_admin_theme' );
The function that you just pasted into your file will properly en-queue your stylesheet that we will be using to add our custom styles for the Admin Theme.
If you look on line 13 you can see that we have named the stylesheet wp-admin.css. Now you need to create this file in your Admin Theme Folder that you just created. You can either name it “wp-admin.css‘ or name your stylesheet to your liking. Just make sure if you create a custom name that you change the stylesheet file name on line 13 as well.
Styling Your WordPress Dashboard Theme
Now the fun part begins! Now that you have created your custom Admin Theme Plugin folder, plugin file, and your custom stylesheet. We can now begin styling the WordPress dashboard!
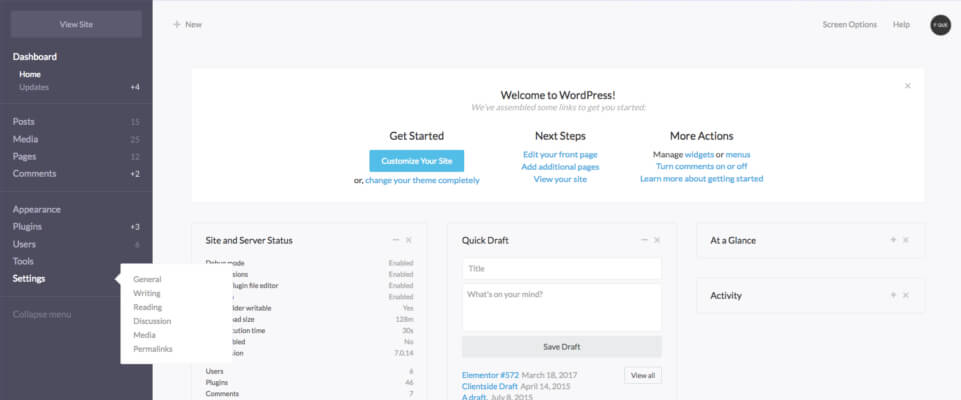
Let’s get started! For this blog we are going to show you how to change the color of the Dashboard Options to match the branding color of your website or company. By default WordPress does have some out of the box themes but they may not be the exact colors that you would like.
As long as you have some knowledge in .CSS you can pretty much change anything you would like in the dashboard! If you do not have knowledge in .CSS or coding we are always here to help you with your WordPress needs!
Changing The WordPress Dashboard Options Color
Below you can copy the .CSS code snippet we provided into your “wp-admin.css” stylesheet, or whatever you named it. To match your branding simple change the Hex codes to your liking. For example if you would like it to be the color orange, change the hex code #6556be to #FF7F50.
					/* Dashboard Options Color Change */

#adminmenu .wp-has-current-submenu .wp-submenu .wp-submenu-head, #adminmenu .wp-menu-arrow, #adminmenu .wp-menu-arrow div, #adminmenu li.current a.menu-top, #adminmenu li.wp-has-current-submenu a.wp-has-current-submenu, .folded #adminmenu li.current.menu-top, .folded #adminmenu li.wp-has-current-submenu {
    background: #1abc9c!important;
    color: #fff;
}
#adminmenu li a.wp-has-current-submenu .update-plugins, #adminmenu li.current a .awaiting-mod {
    background-color: #6556be!important;
    color: #fff;
}
#adminmenu div.wp-menu-name:hover {
    background: #1abc9c!important;
    color: #fff!important;
}
.wp-menu-image .dashicons-befor {
    color: #6556be!important;
}
#adminmenu li.menu-top:hover, #adminmenu li.opensub>a.menu-top, #adminmenu li>a.menu-top:focus {
    position: relative;
    background-color: #191e23;
    color: #1abc9c!important;
}
#adminmenu li a:focus div.wp-menu-image:before, #adminmenu li.opensub div.wp-menu-image:before, #adminmenu li:hover div.wp-menu-image:before {
    color: #6556be!important;
}
#adminmenu .wp-submenu a:focus, #adminmenu .wp-submenu a:hover, #adminmenu a:hover, #adminmenu li.menu-top>a:focus {
    color: #1abc9c;
}
Save your stylesheet and head back over to your WordPress Dashboard. Go to your installed plugins and now you need to active your new plugin that you just created. Now if you hit refresh you will see that the Dashboard active and hover options are green and purple. ( WP Codeus colors 🙂 ). If you do not see the changes you may need to clear you browser cache for your website.
Now that you have everything setup you can now add your own adjustments by right clicking elements in your browser and click “Inspect Element” to get the property name and styles to edit from your browsers’ web inspector.
In Summary
You have now created your first WordPress Dashboard Admin Theme! If you liked this blog please comment below and share your feedback so we know what articles to create in the future. If are having any issues you can leave a comment and we are always here to help you out.